ARO Mobile Installation Guide
About ARO Mobile
ARO Mobile is the ARO node app for mobile operating systems (phones).
- Currently supported: Android
- Coming soon: iOS
This guide focuses on Android installation and setup.
Before You Start
Please prepare the following:
- An Android phone with stable internet access
- Your ARO account (Dashboard)
- Permission to install the ARO Mobile APK on your device
You can start from ARO Dashboard -> Add a New Node, then choose ARO Mobile.
Android Installation Steps
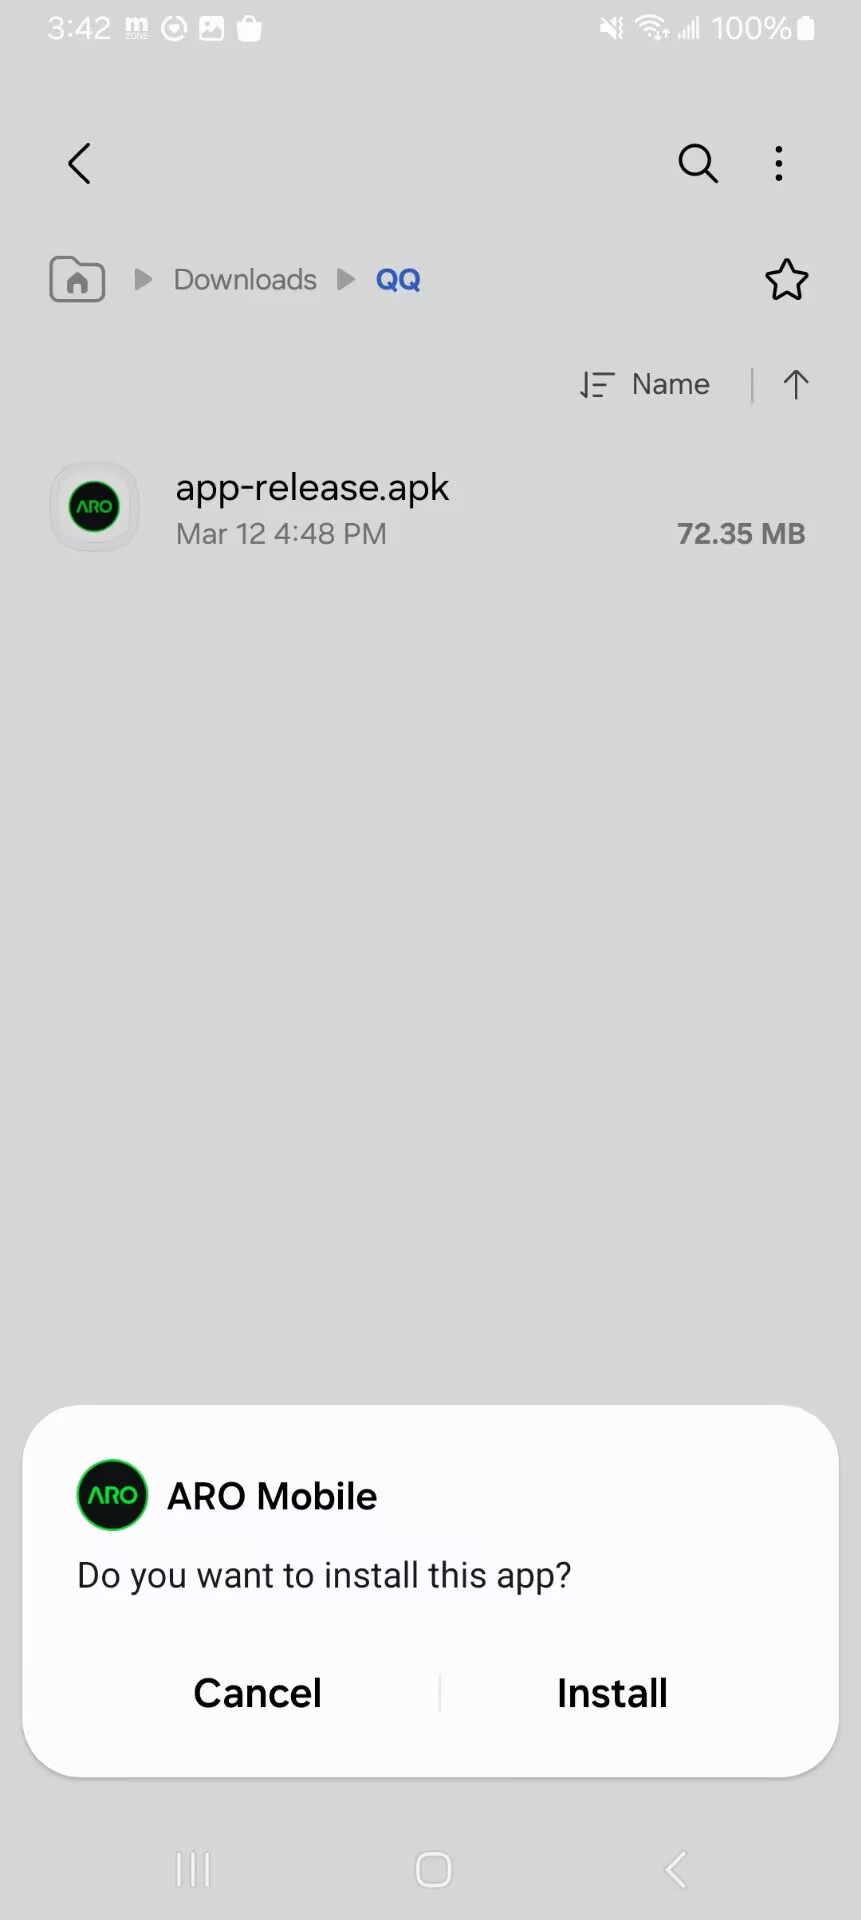
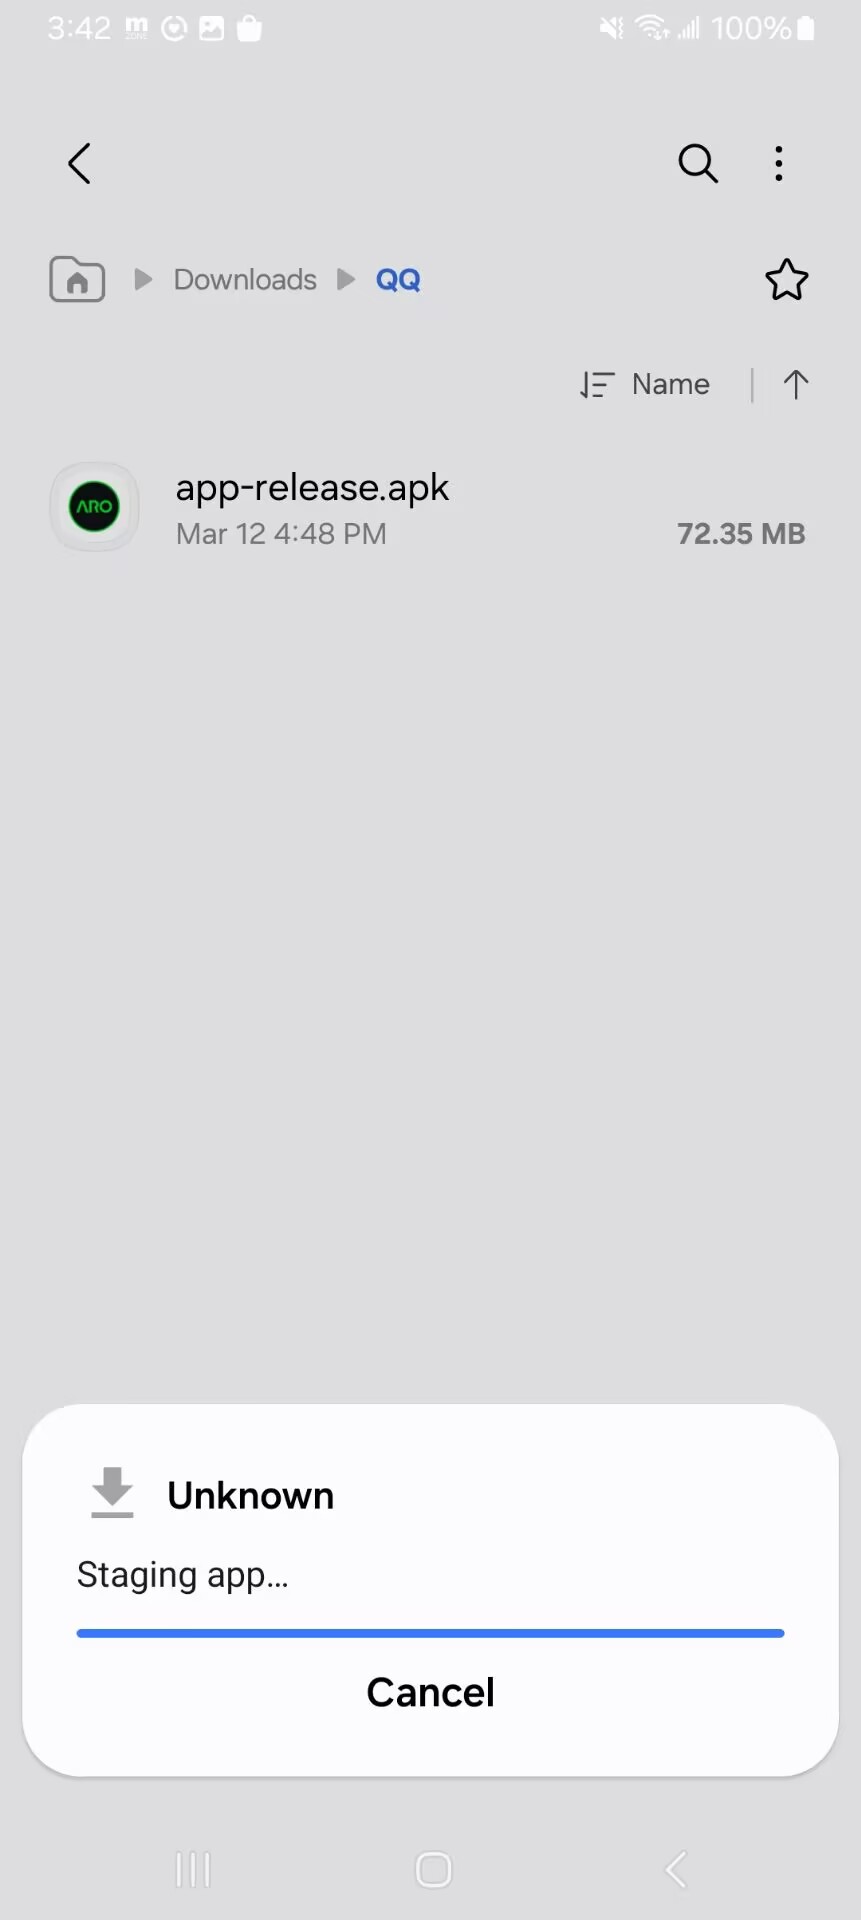
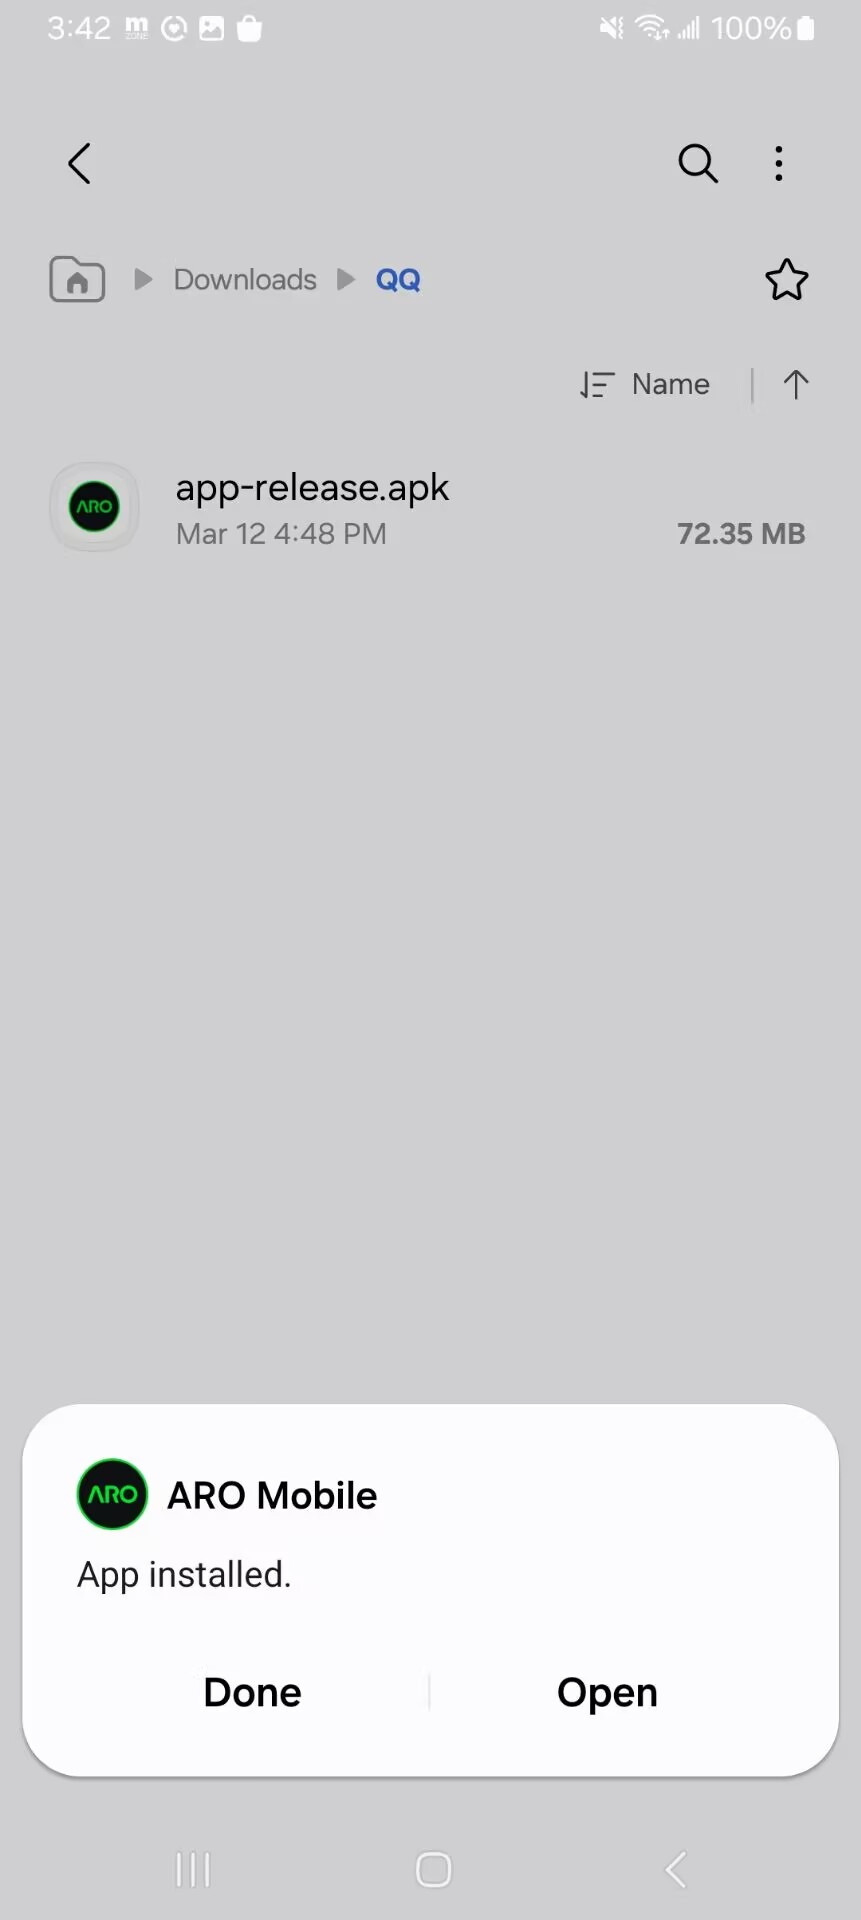
Step 1: Install the APK
- Download the ARO Mobile APK from Dashboard -> Add a New Node.
- Tap the downloaded
.apkfile. - Tap Install.
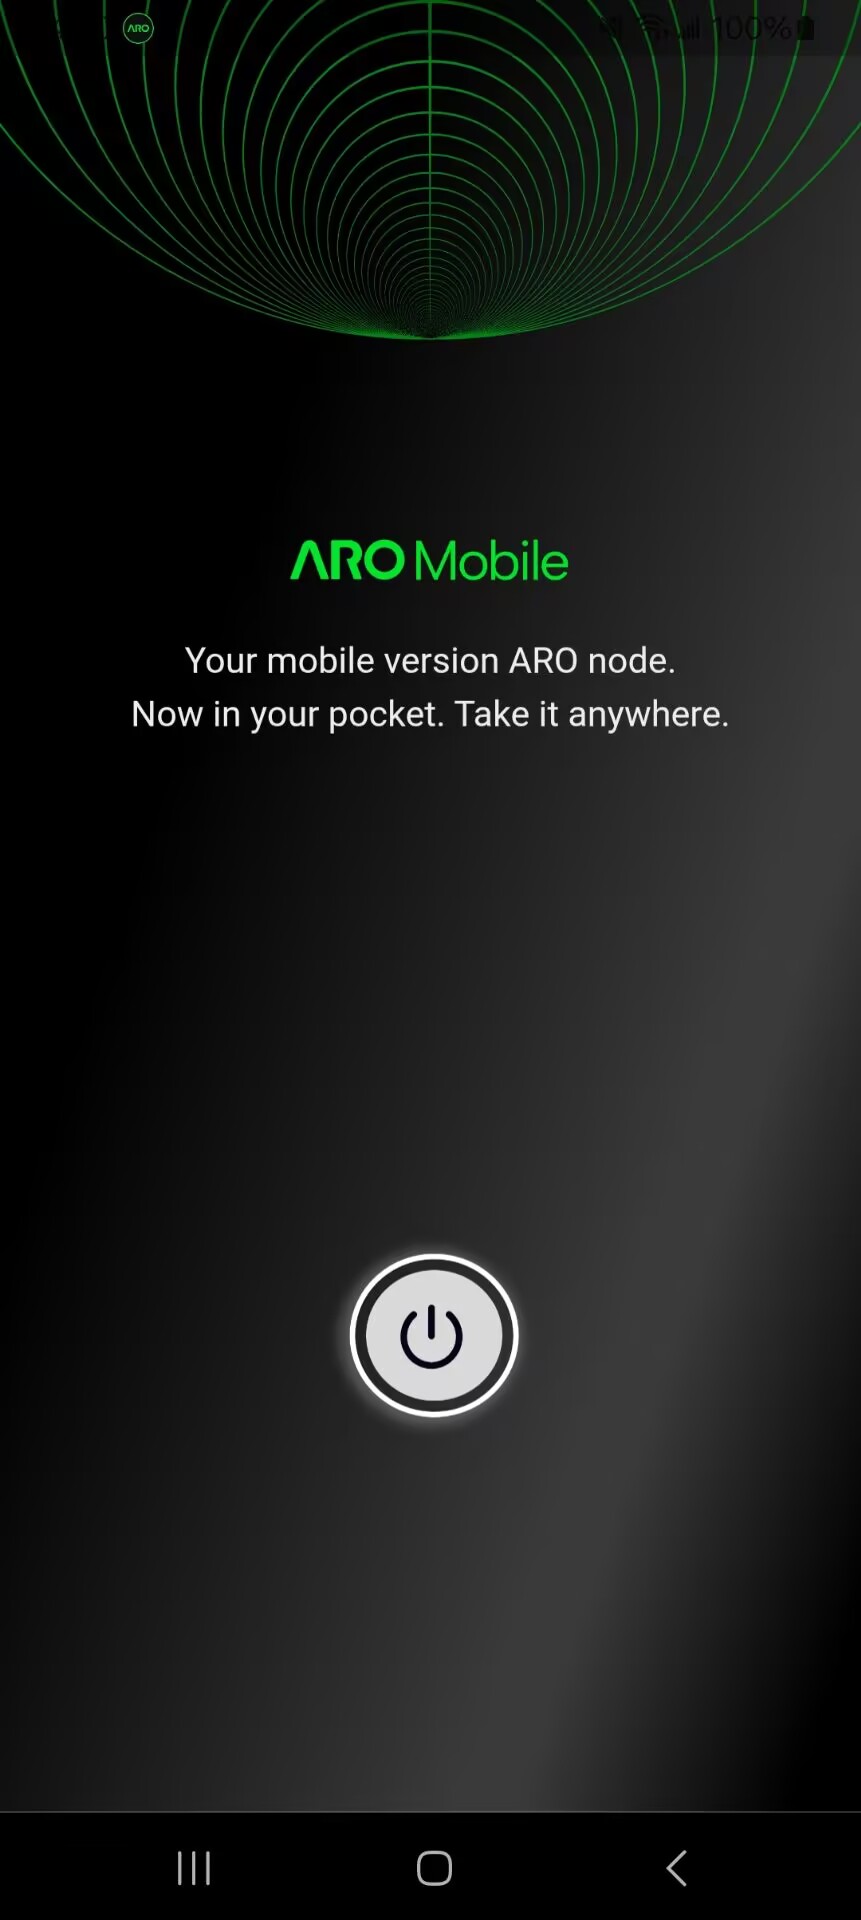
- After installation completes, tap Open.
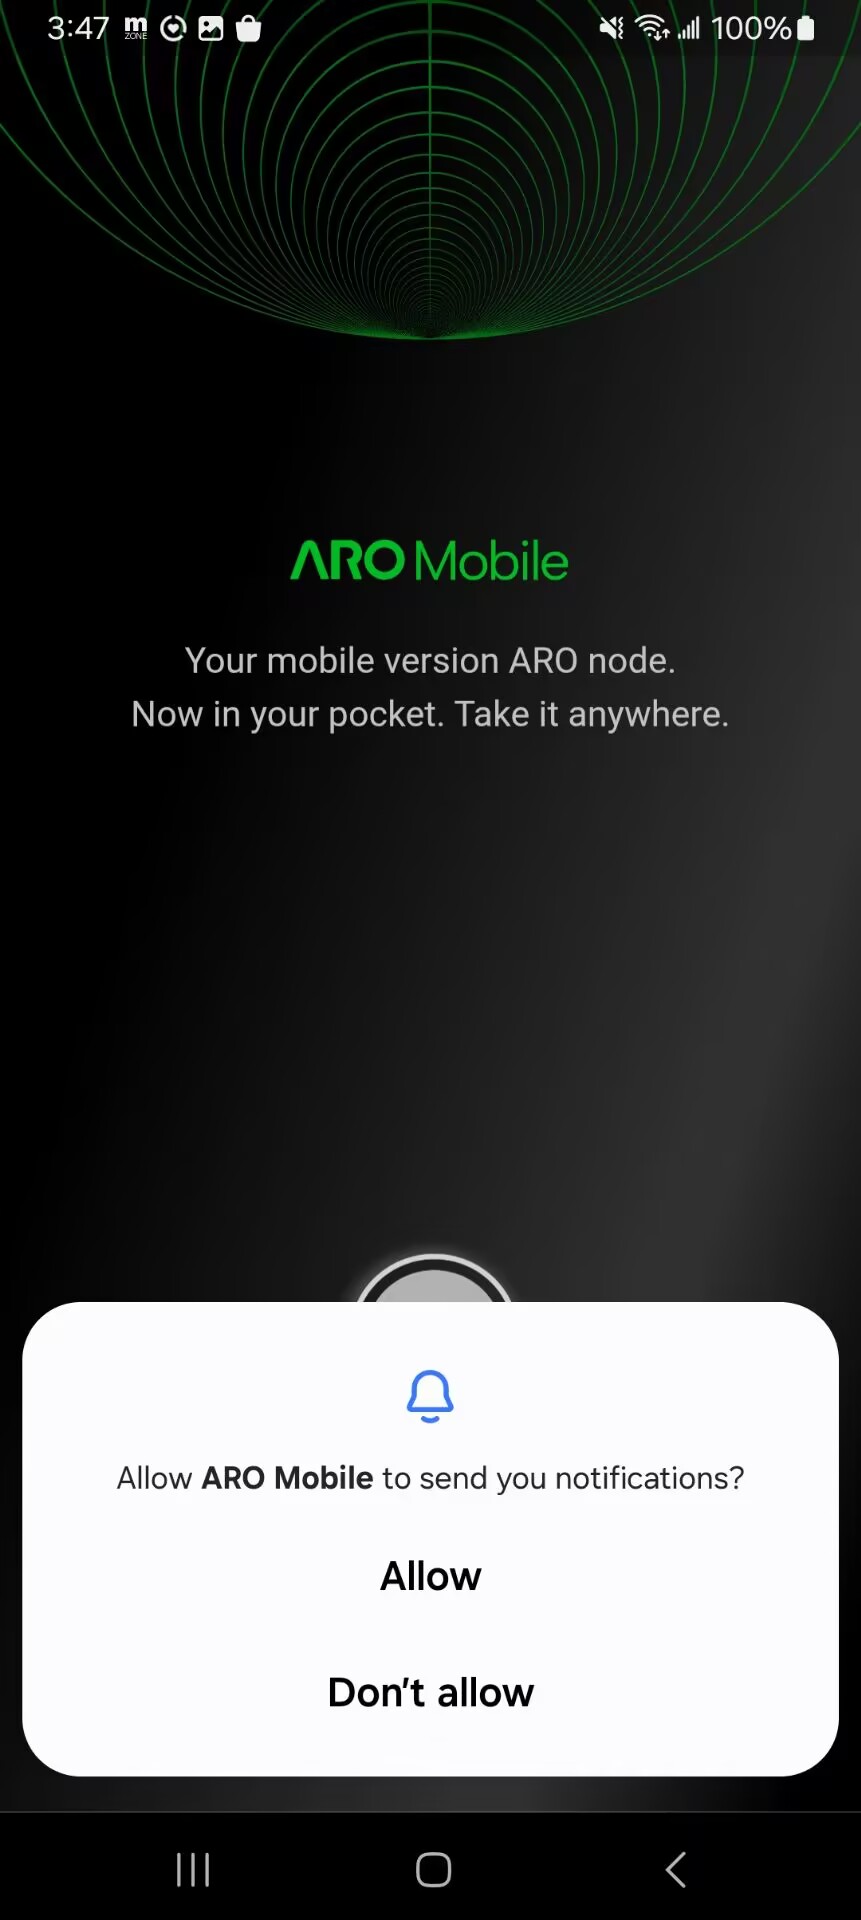
Step 2: Allow Notifications
When the app first launches, Android may ask:
"Allow ARO Mobile to send you notifications?"
Tap Allow.
Notifications help you receive node status and important runtime updates.
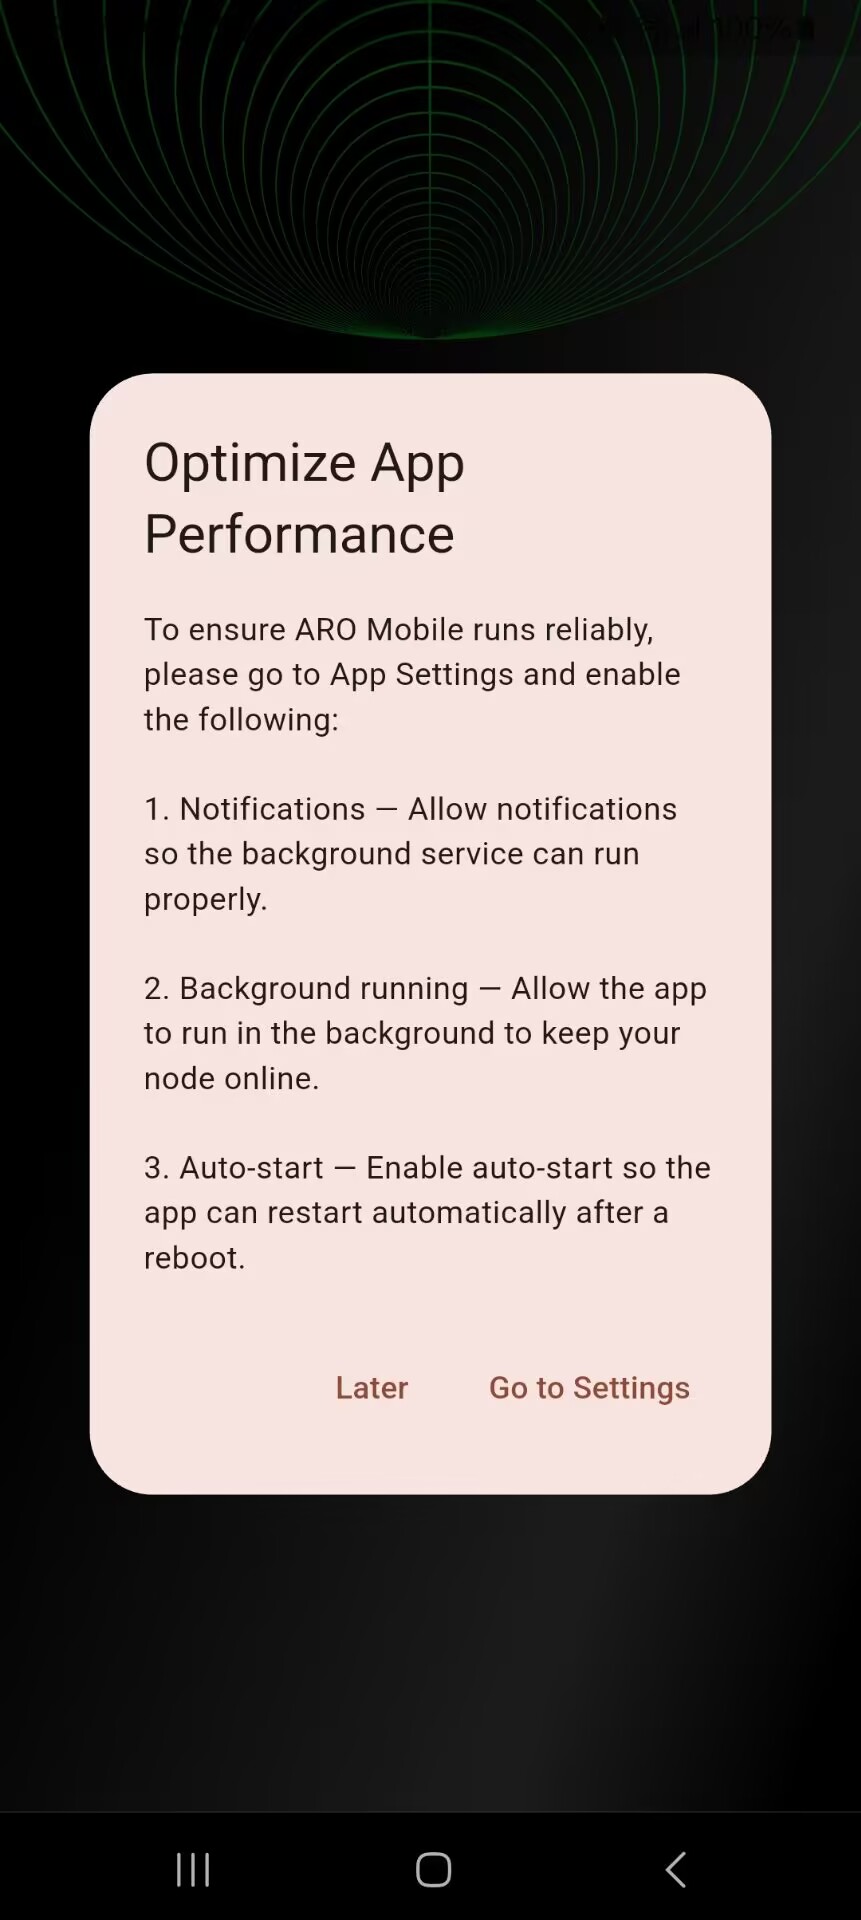
Step 3: Optimize App Performance (Required)
To keep your node stable in the background, complete the performance settings:
- In the Optimize App Performance prompt, tap Go to Setting.
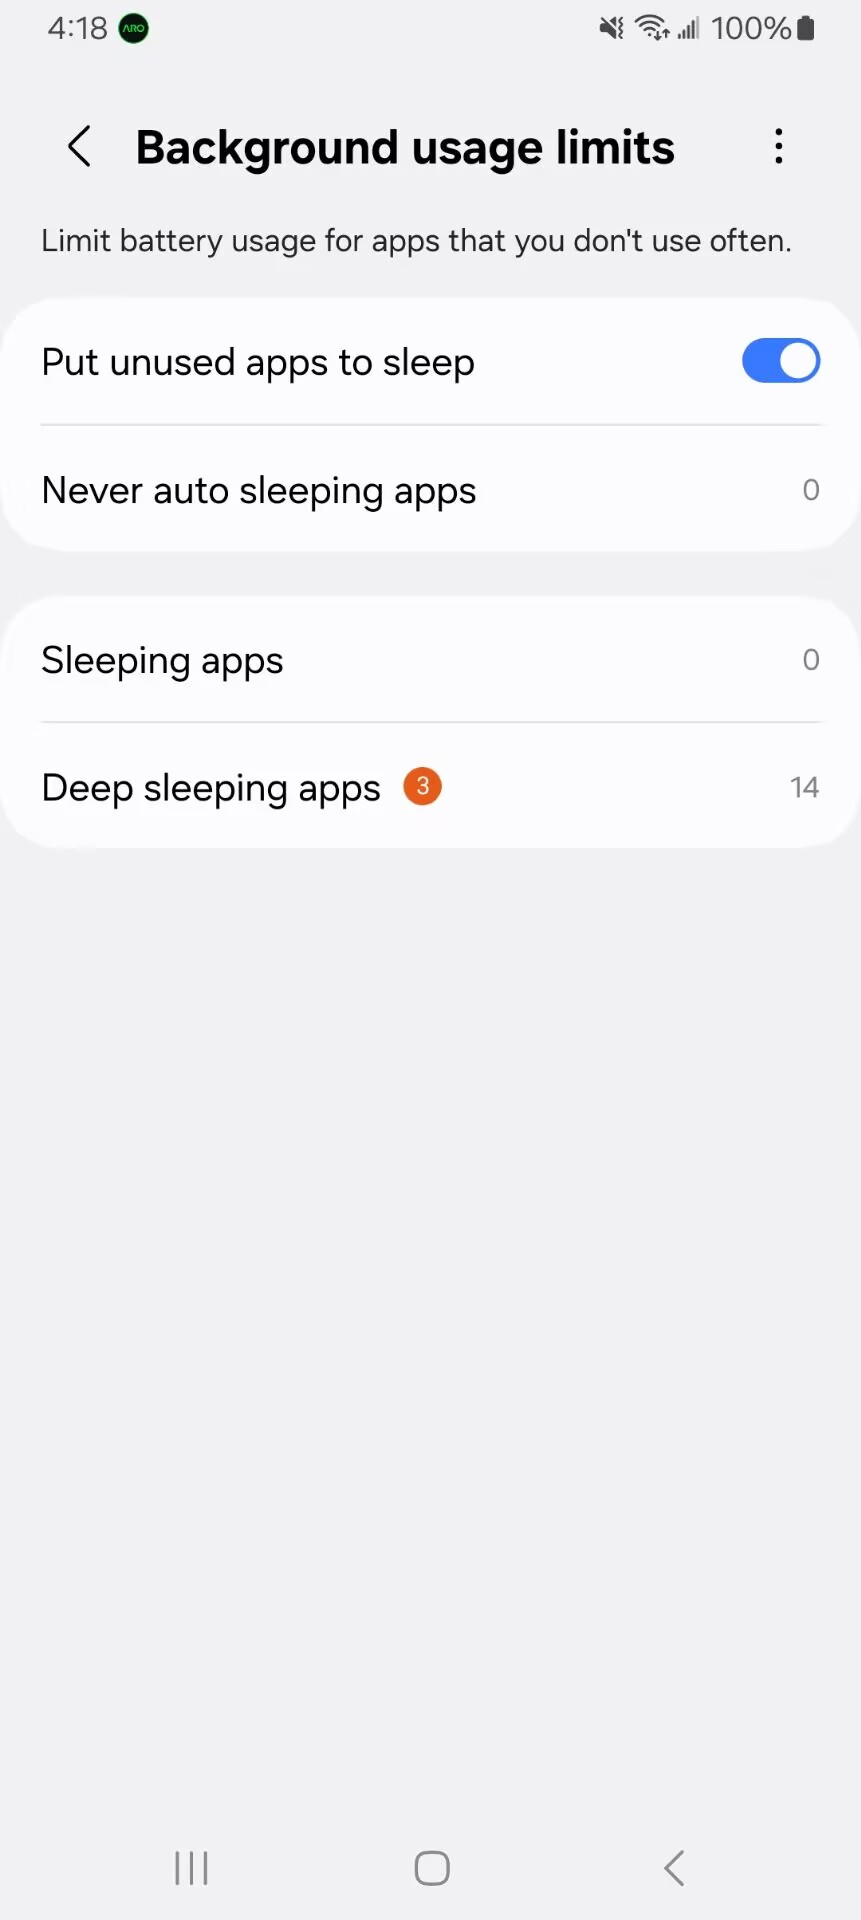
- Open your phone settings path: Settings -> Battery -> Background usage limits -> Never auto sleeping apps
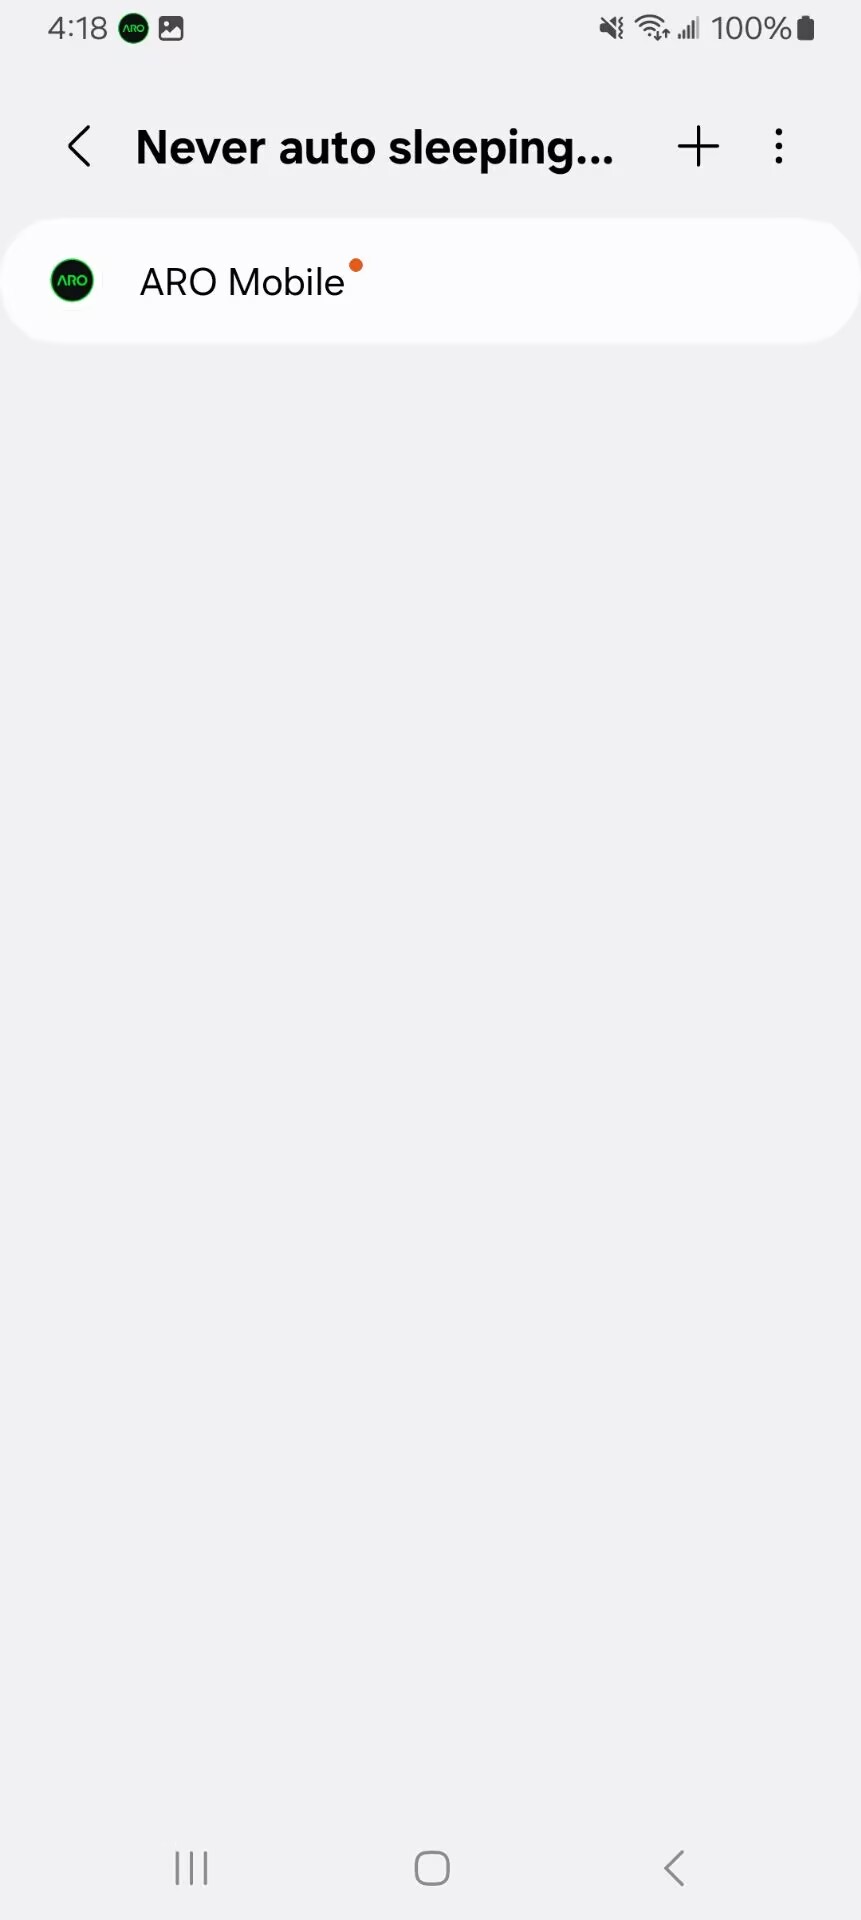
- Add ARO Mobile to Never auto sleeping apps.
This prevents Android from putting ARO Mobile to sleep and interrupting node uptime.
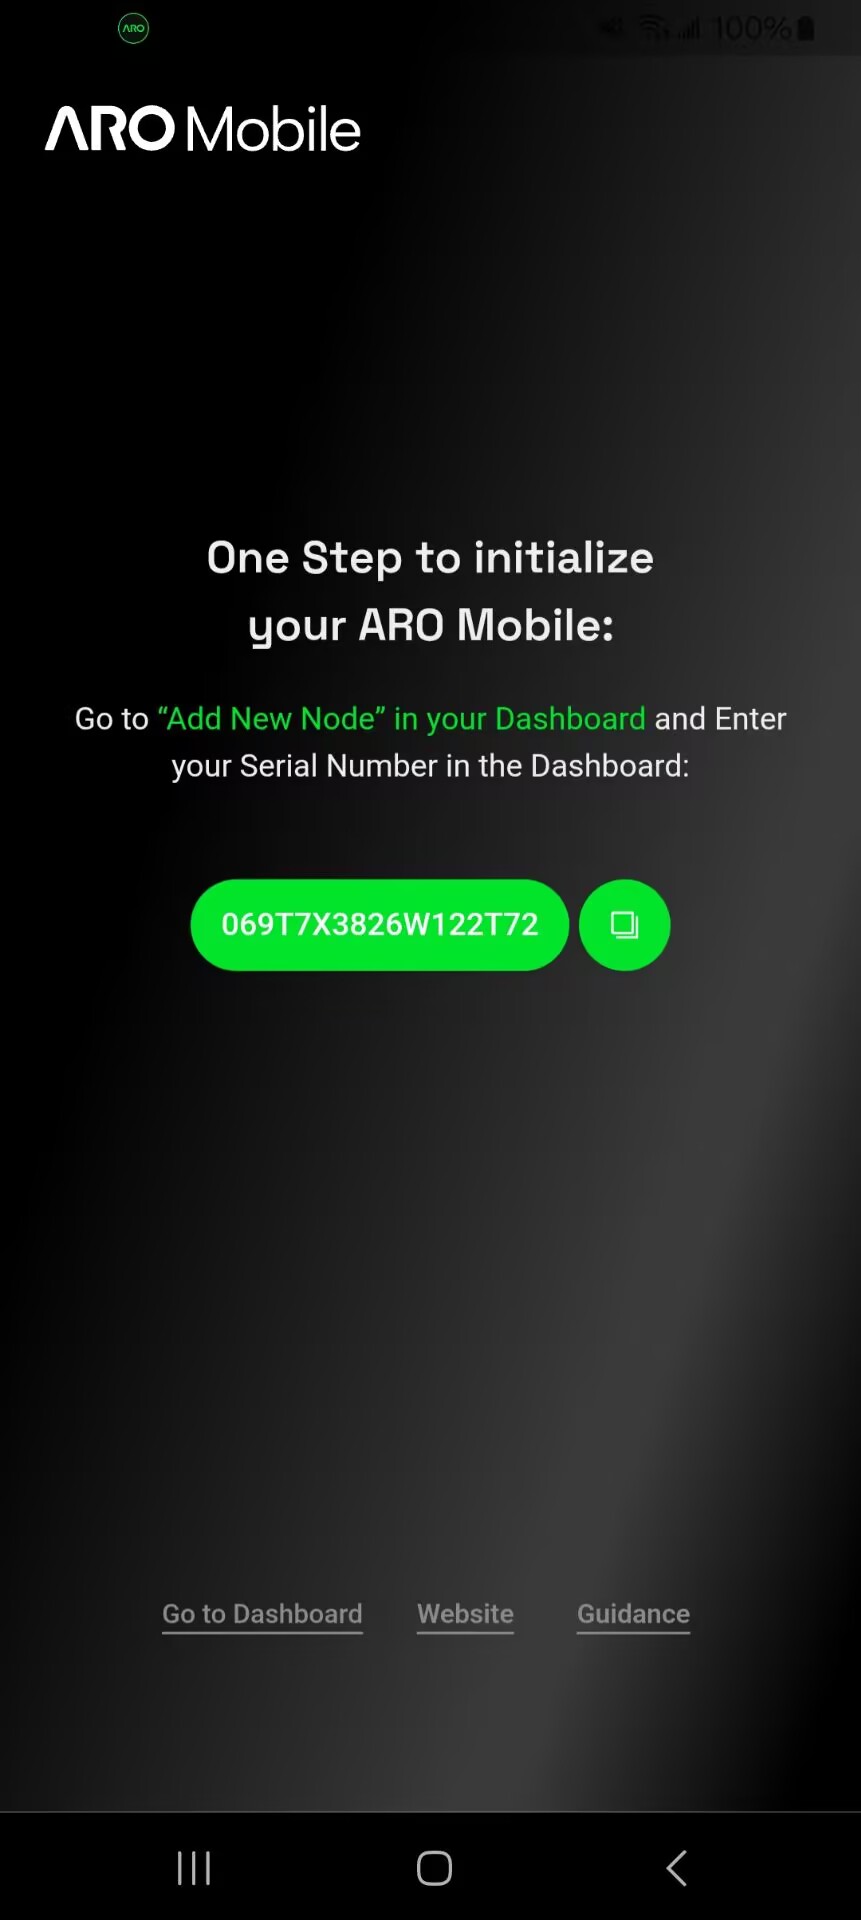
Step 4: Bind the Node to Dashboard
- In ARO Mobile, copy the node SN.
- Go to the ARO Dashboard.
- Paste and bind the SN to your node entry.
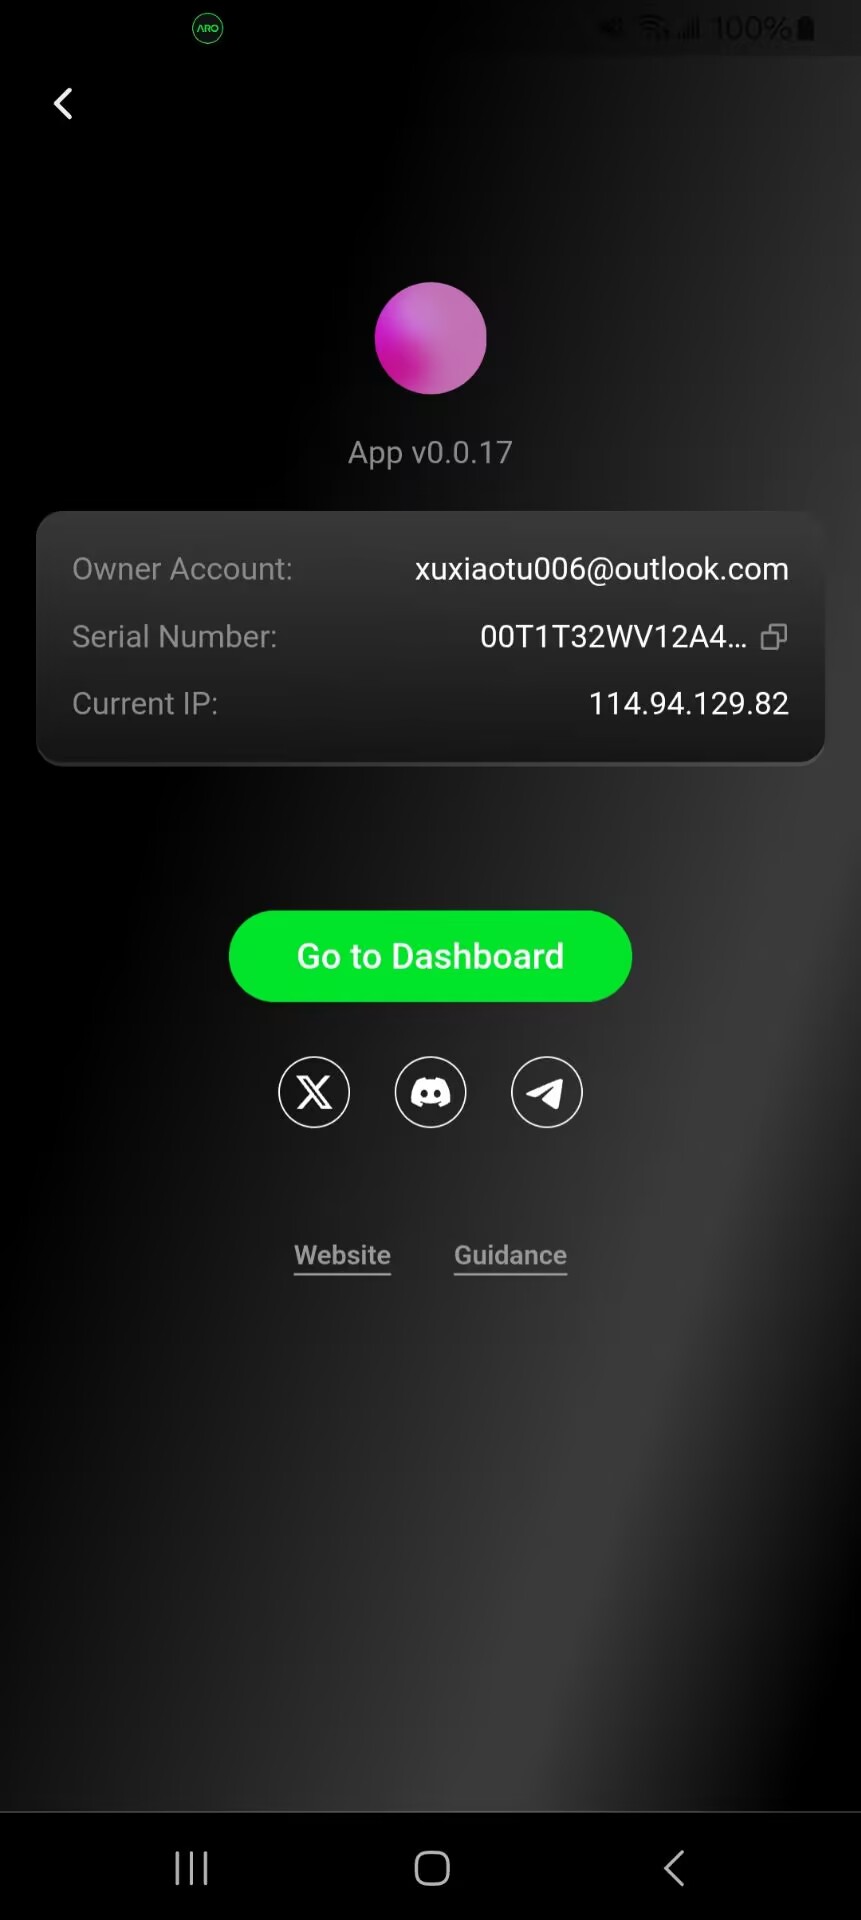
- Confirm the node status becomes Connected.

Quick Troubleshooting
- Node not staying online: Recheck battery/background settings and confirm ARO Mobile is in Never auto sleeping apps.
- Cannot bind node: Verify the SN is copied fully and pasted into the correct Dashboard field.
- No updates shown: Keep notification permission enabled and ensure internet access is stable.
If you still have issues, continue with: